
Announcing the Micro CAN Node: Simplifying DroneCAN Integration!
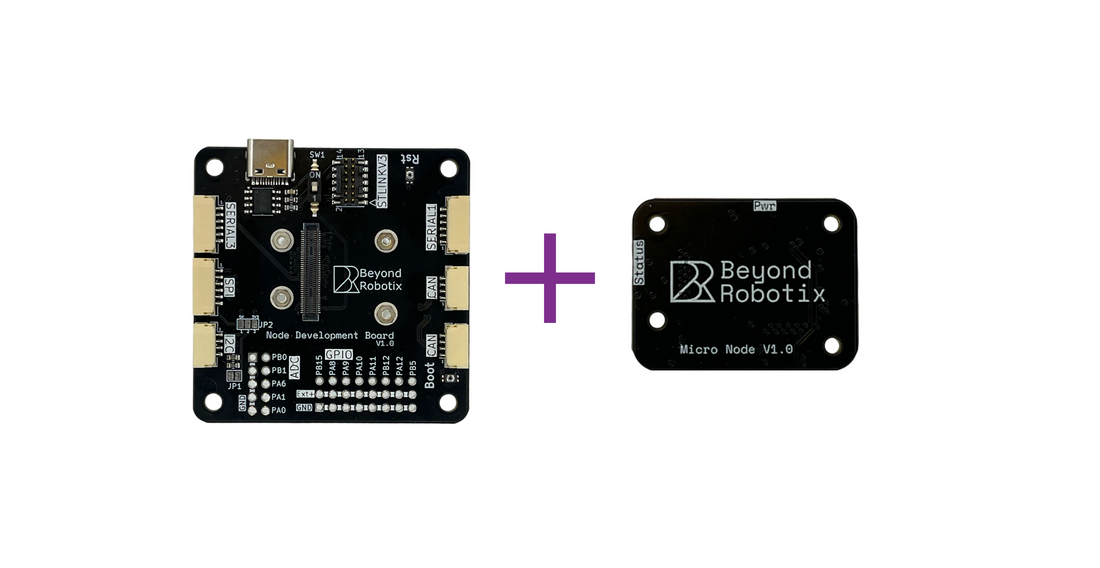
We're thrilled to announce the launch of the Micro CAN Node. Whether you're a business developing cutting-edge drone technology, a hobbyist tinkering on your next project, or an educational institution exploring robotics, the Micro CAN Node is designed to make integrating DroneCAN peripherals easier than ever.
Bridging the Gap to Production-Grade DroneCAN
The Micro CAN Node is engineered to streamline the process of creating production-grade DroneCAN enabled products. It's the perfect solution for integrating peripherals onto custom PCBs or for rapidly prototyping new DroneCAN sensors and devices.
Key Features & Benefits:
- Simplified Prototyping: The development board, equipped with Pixhawk and Cube compatible JST-GH connectors, makes getting started a breeze.
- Seamless Integration: A high-density connector allows the Micro CAN Node module to be mounted directly onto your custom PCBs with no soldering required.
- Arduino DroneCAN Ready: Enjoy plug-and-play support for Arduino DroneCAN, minimizing boilerplate code and letting you focus on your sensor integration.
- Developer Friendly: Accessible interfaces on the development board, including an STLINK-V3 debug header, enable easy step-by-step debugging in PlatformIO.
- Robust & Reliable: Built with durable components designed for rigorous use.
- Excellent Support: Backed by extensive documentation and responsive customer support from Beyond Robotix.
How Can You Use the Micro CAN Node?

The versatility of the Micro CAN Node opens up numerous possibilities:
1. Custom Sensor Integration: Easily add specialized sensors to the DroneCAN network using your own PCB designs. Simply mount the Micro CAN Node via its high-density connector.
-
- Example: Design a custom PCB for a new lidar sensor. Integrate the Micro CAN Node module onto the PCB, write your sensor-specific code using the Arduino DroneCAN library, and connect it directly to your flight controller's CAN port.
2. Rapid Prototyping: Use the development board to quickly test new DroneCAN peripheral ideas. Connect existing sensors or components to the board's interfaces and leverage the Arduino DroneCAN examples.
-
- Example: Prototype a new GPS module with DroneCAN interface. Connect the GPS module's UART output to the development board, utilize the provided Arduino libraries, and test its functionality on a Pixhawk or Cube flight controller before committing to a custom PCB.
3. Connecting Existing Peripherals: Adapt existing Pixhawk-compatible peripherals (like airspeed sensors or power modules) to the DroneCAN bus using the development board's JST-GH connectors.
-
- Example: Connect an off-the-shelf I2C airspeed sensor to the development board's I2C port, use the Micro CAN Node to translate its readings into DroneCAN messages, and benefit from the robustness of the CAN bus.
4. Educational Projects: Provide students with an accessible platform to learn about CAN bus communication, sensor integration, and embedded systems development within the drone ecosystem.

Get Started Today!
The Micro CAN Node empowers you to build sophisticated DroneCAN peripherals with greater ease and speed.
