
How to Set Up a Drone Swarm with ArduPilot
Whether you're planning a drone show or performing aerial robotics experiments at some point you might have wondered what is the best way to connect to multiple drones and control them from one ground control station (GCS). With the Beyond Robotix Kahuna multiple drones can be connected to one wifi network.
Hardware Setup
The drone hardware setup is as simple as plugging a Kahuna into the Telem 1 port of the pixhawk or cube autopilot on each drone. If you are using a different autopilot from Matek or SpeedyBee you may need a different cable.

The simplest setup for the ground-based hardware is a single 2.4Ghz Wi-Fi router. For increased bandwidth and range you can connect an access point to your router such as the Ubiquiti NanoStation M2. The computer which will run the GCS software can be connected to the router either wirelessly or with an ethernet cable, an ethernet cable is recommended for the most stable connection.
Software Setup
Connect the autopilot of the first drone to your PC with a USB cable and open Mission Planner. Select AUTO from the dropdown and press the connect button to connect to the autopilot over serial. We will now be able to change a few parameters to get everything ready.
Firstly, we need to make sure the baud rate and protocol for the Telem 1 port is correct. Set the following parameters in Mission Planner:
SERIAL1_BAUD: 57 (57600)
SERIAL_1_PROTOCOL: 2 (MAVLink2)
Next, we need to make sure the GCS can distinguish between messages it receives from different drones, this is done by changing the MAVLink system ID of each drone to be unique. Modify the SYSID_THISMAV parameter and set it to a unique number for each drone. After changing the parameter, reboot the autopilot.
Next, connect to the Wi-Fi network of the Kahuna installed on the first drone using the default SSID and password:
SSID: BeyondRobotix
Password: beyondrobotix
Navigate to 192.168.4.1 in a browser and you will be greeted with the following setup interface:

Select ‘Station’ for WiFi mode and enter the SSID and Password of your WiFi router in the corresponding boxes. Click ‘Save’ and then you can disconnect the drone from power.
Repeat this process for all the drones you want to connect, making sure to use a different MAVlink system ID for each.
Optional Advanced Setup
If you know the local IP address of your router (most commonly 192.168.0.1) then you can use the ‘Station IP’ parameter to set the local IP address of the Kahuna on the same subnet. It is recommended to derive this from the MAVLink system ID to reduce confusion later, for example if the MAVlink system ID of a drone is 101 then the Station IP can be set to 192.168.0.101 and so on.
Getting Everything Connected
Once the software setup described above is completed you can power up all of the drones and open Mission Planner. Make sure your PC is connected to the same Wi-Fi network as the drones.
From the dropdown to the right of the ardupilot logo select ‘UDP’ and press ‘CONNECT’. The local port should be set to the same as the Kahuna host port, by default this is 14550 and the box in Mission Planner should already contain this value. Press OK and you should be connected.
You will now be able to view telemetry from and issue commands to each of the drones by selecting the drone you want to control from the dropdown highlighted in the following image.

In addition to this functionality a dedicated swarming interface is available in Mission Planner however it is currently in beta. You can access it by pressing Ctrl+F and then selecting ‘Swarm’ from the list.

This will open the swarming interface shown in the image below. Further information on the Mission Planner swarming interface is available here.

Alternatively, more sophisticated support for multiple drones can be found in QgroundControl. You can download QGroundControl from here. When you launch QGroundControl all the drones should connect automatically, you can select the Multi-Vehicle mode checkbox in the top right and view the status of each drone at the same time.

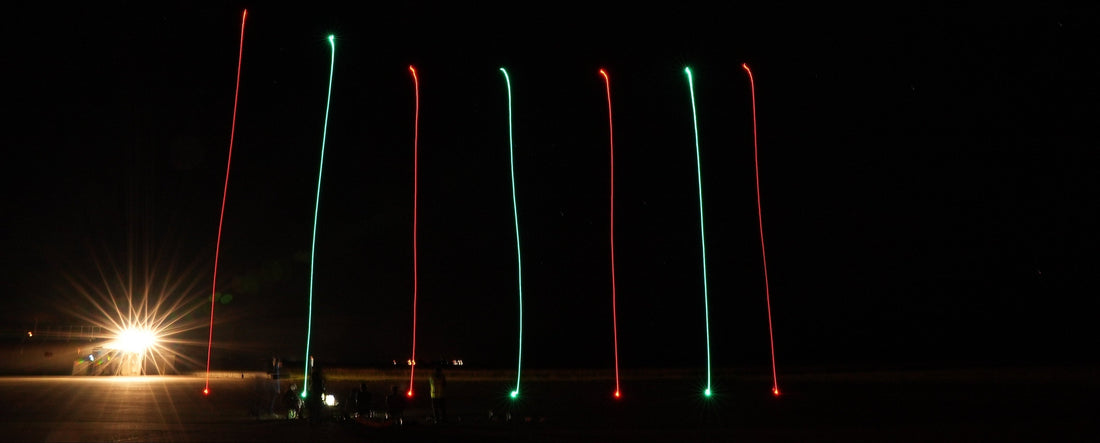
By following the hardware and software setup outlined above, you have established a robust, reliable connection for telemetry and control of multiple drones through a shared Wi-Fi network. Whether you use Mission Planner's swarming interface, QGroundControl's multi-vehicle mode or you put on a drone light show with Skybrush, the sky's the limit for what comes next.
If you don't have a Kahuna yet, you can order yours here to get started now! Get free worldwide shipping when you purchase 2 or more.
